
Design Studio Guide
Create With Confidence
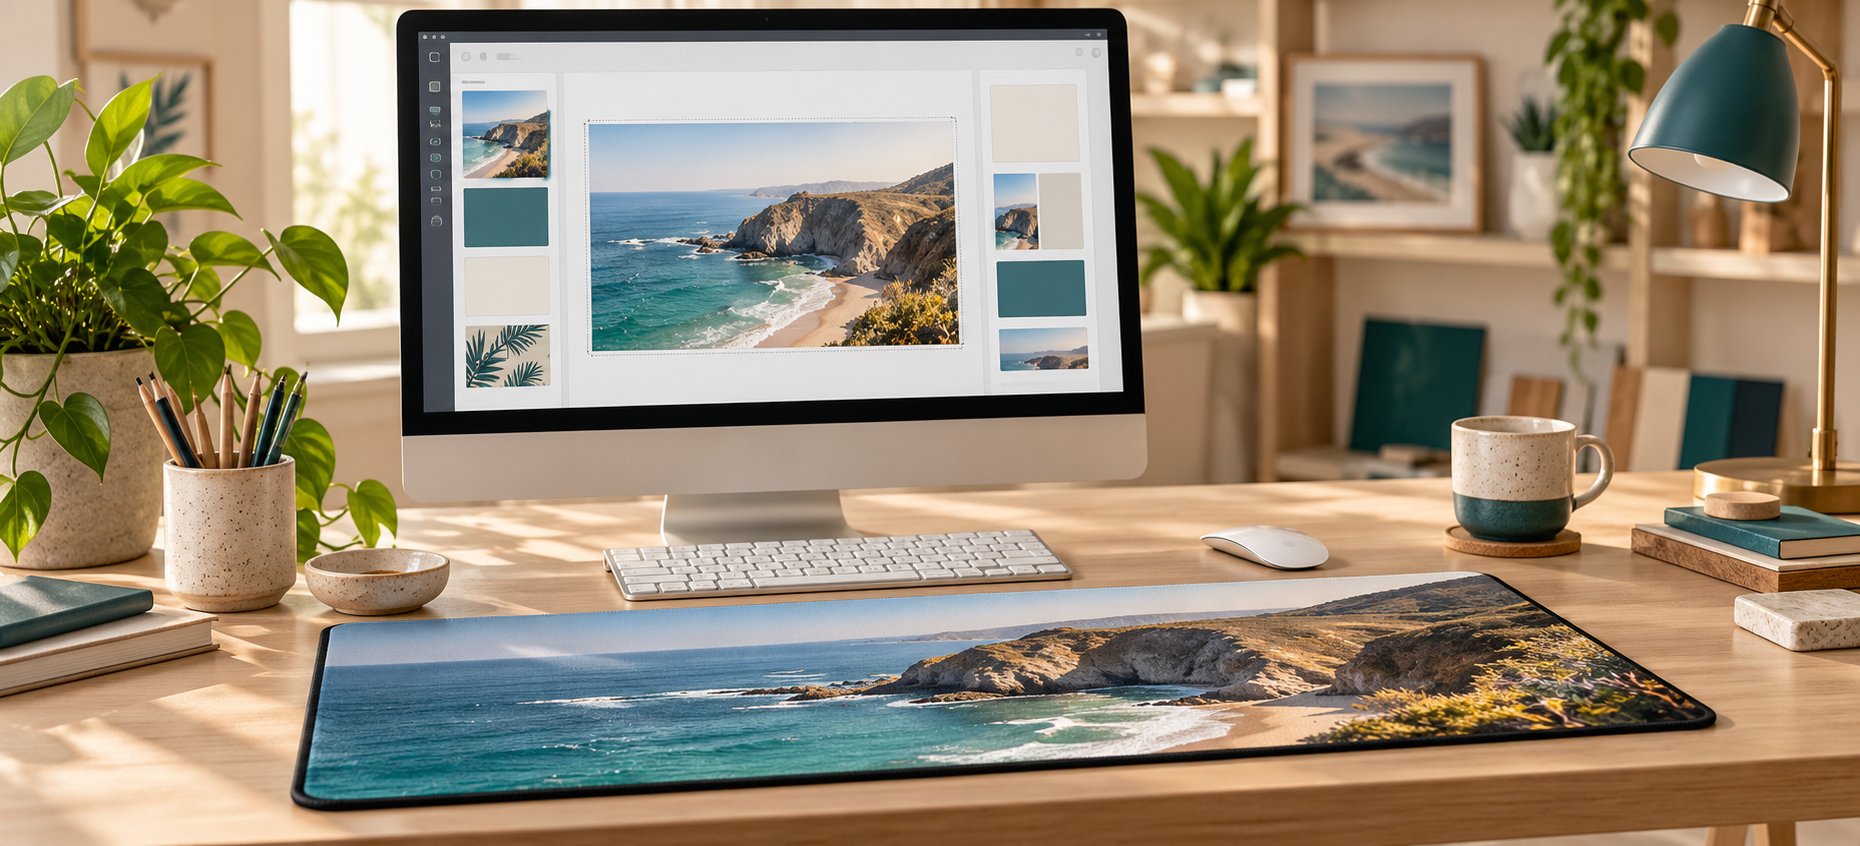
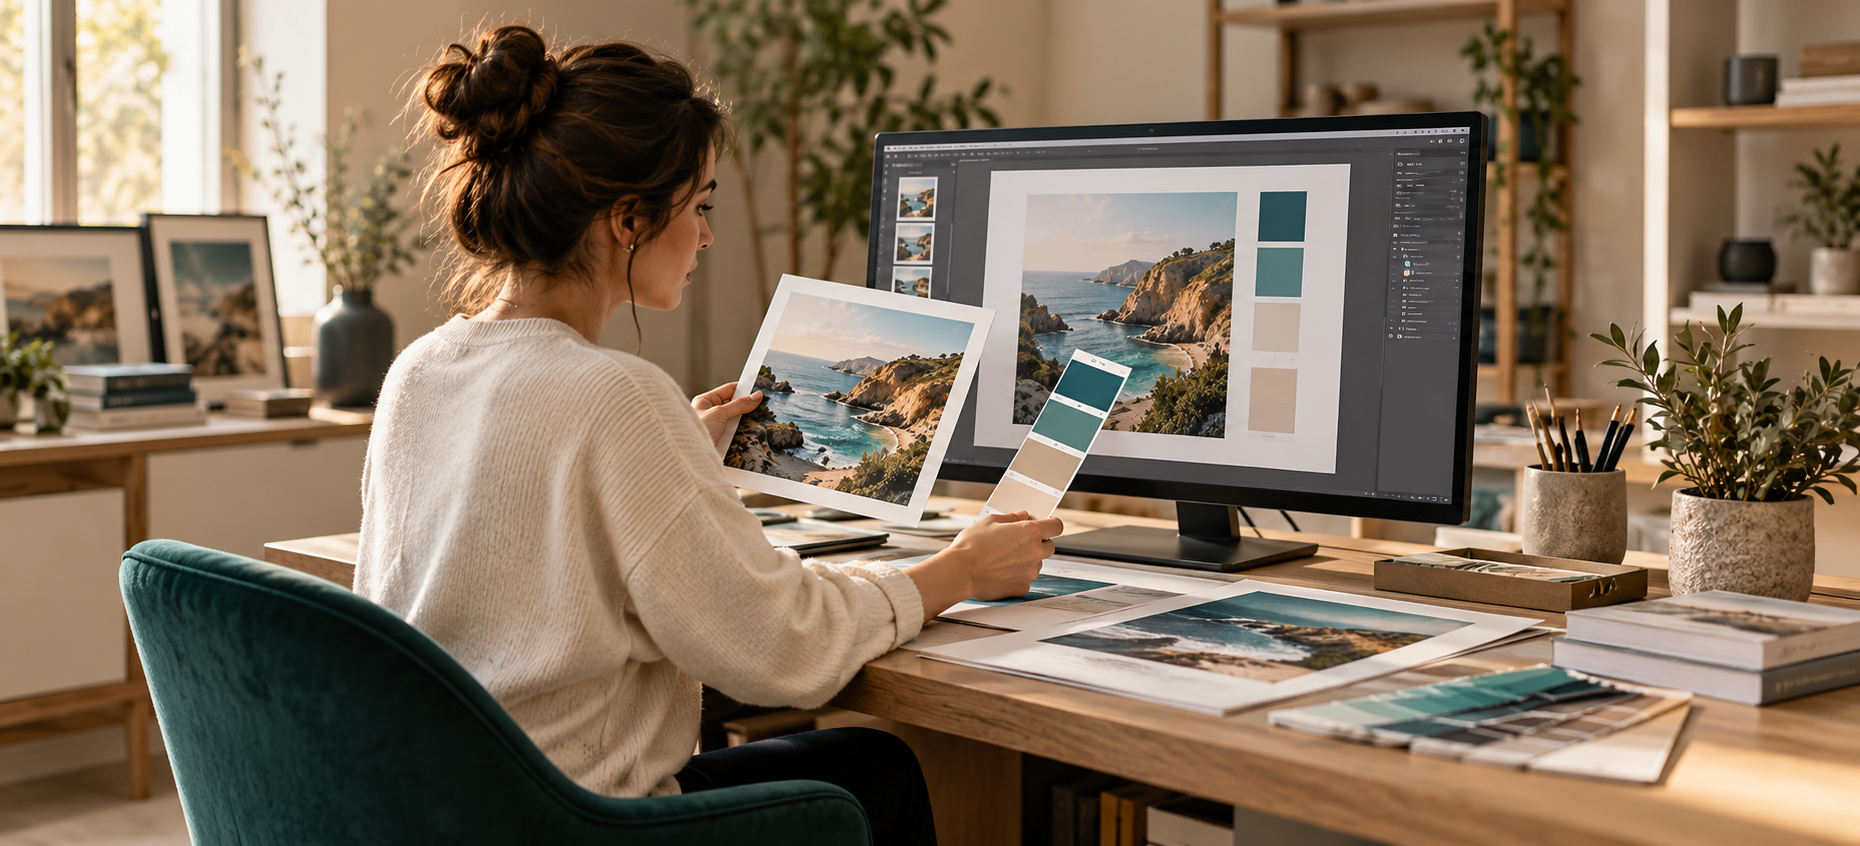
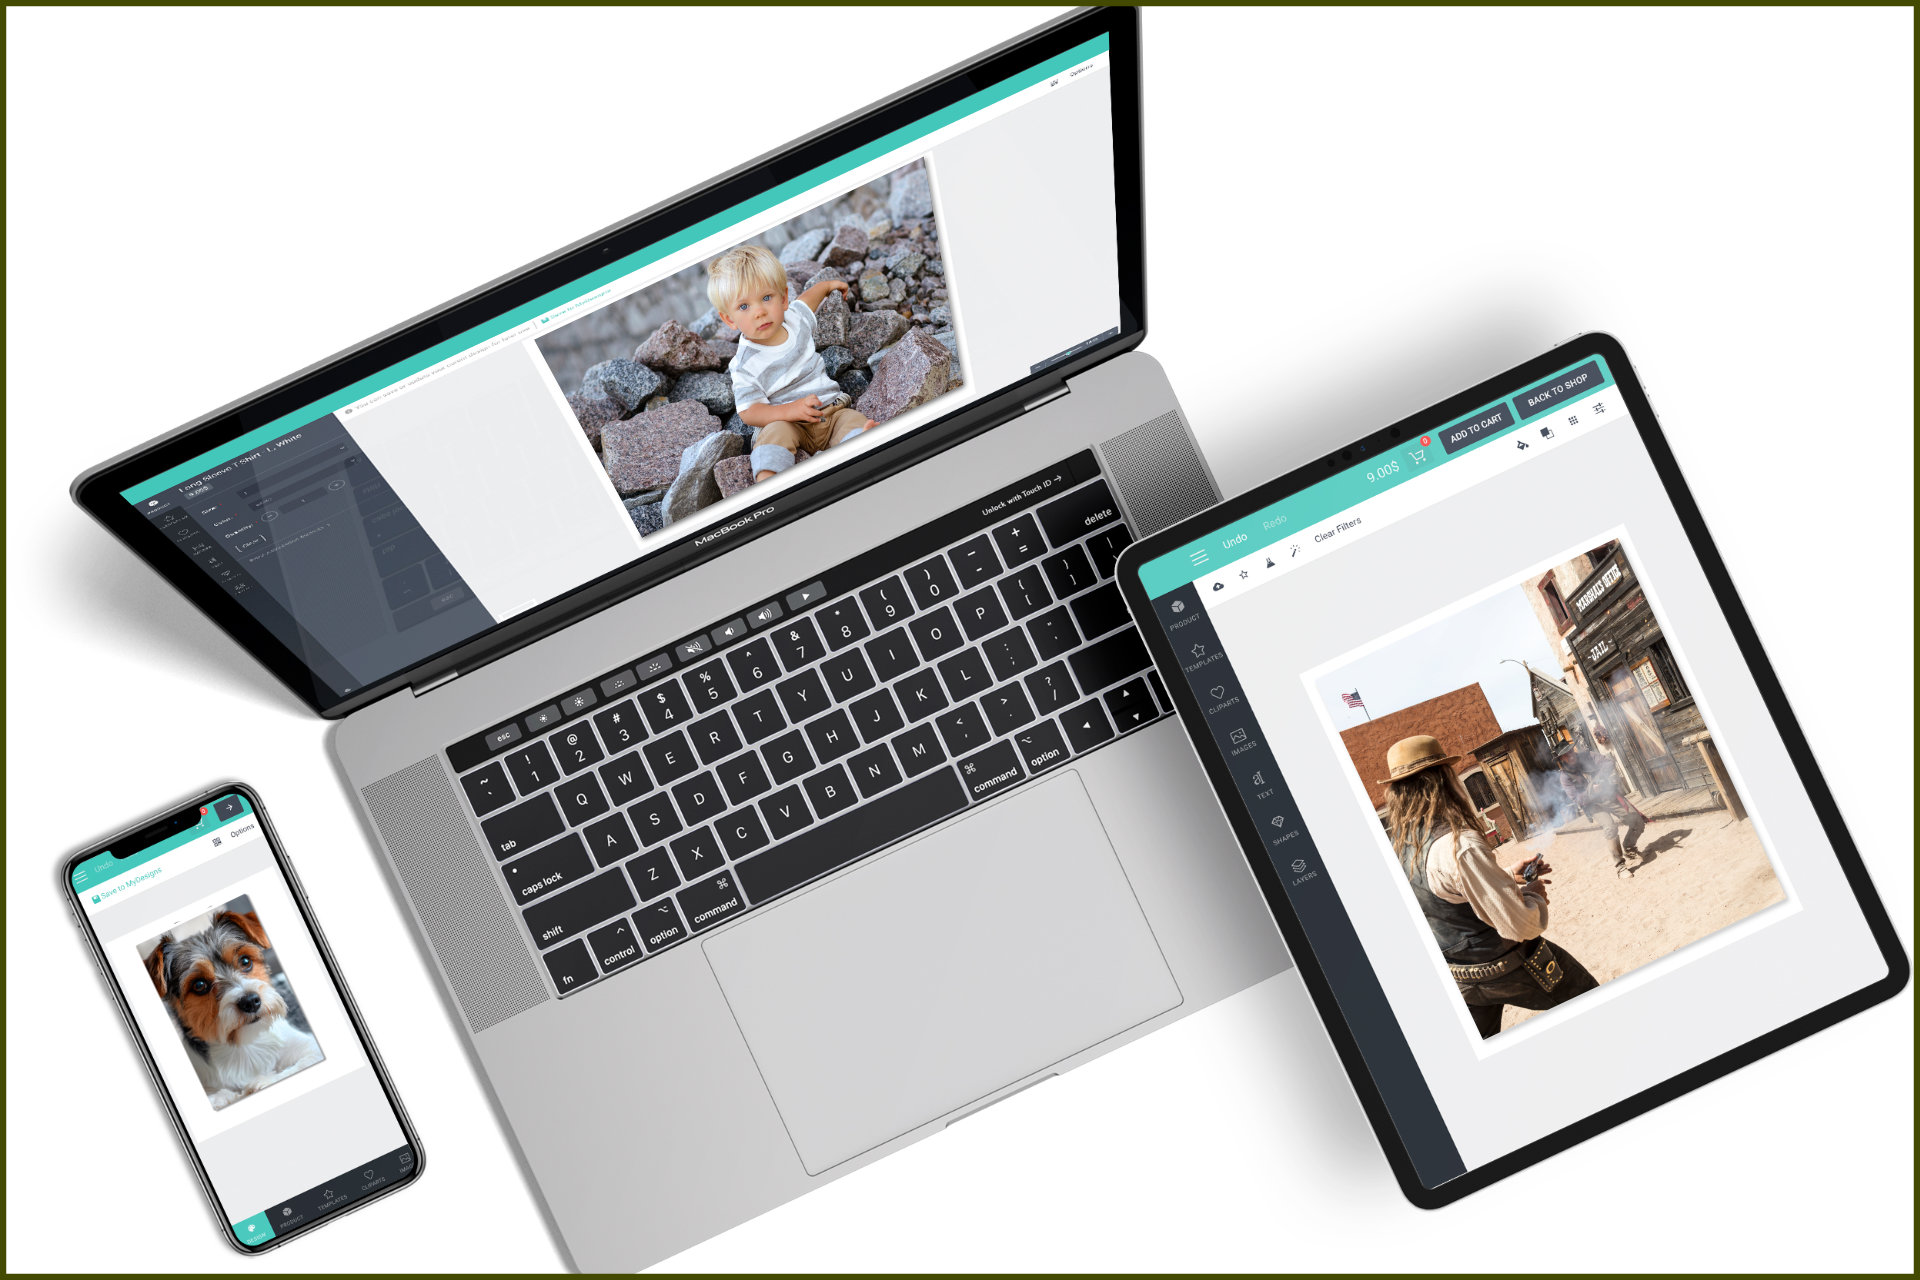
Personalise your products using our online Design Studio, from uploading artwork and adding text to choosing images and ready-made templates. This guide explains the available tools so you can prepare your design with confidence before placing your order.
Resources
The Resources panel contains all the tools needed to build your design. From here, you can add images, templates, clipart, shapes, layers and text to create your custom product.
Image
Upload your own images or choose from our available image library to add artwork and photography to your design.

Templates
Browse our ready-made templates to quickly start your design and personalise the layout to suit your project.
Cliparts
Choose from a range of clipart designs and graphics to add decorative and creative elements to your project.
Shapes
Add simple shapes and design elements to enhance your artwork, create backgrounds, highlight areas or build custom layouts.
Layers
View, arrange, hide or delete elements added to your design and control the order in which objects appear on the canvas.
Text
Add custom text to your design and choose from a wide range of fonts for names, messages, headings and personalised artwork.
Design Area
The Design Area is where you edit the layers added to your canvas. Select an image, text layer or design element to access the available editing tools and adjust how it appears in your finished design.
Replace Image
Replace the selected image while keeping it positioned within the existing design area.
Crop Image
Crop an uploaded image so only the area you want is displayed within your design.

Image Mask
Apply an image as a mask to create more creative effects with text, shapes and other design elements.
Remove Background
Quickly remove the background from supported images so the main subject can be used within your design.
Image Filter Effects
Apply ready-to-use image filters to quickly change the appearance and visual style of your selected photograph.
Fill Colour
Convert supported selected elements to a solid colour and adjust transparency settings where available.
Arrange Layers
Move selected elements forward or backward to control which objects appear above or below other layers.
Position
Align selected objects to the centre, top, bottom, left or right of the design area for accurate placement.
Transform Manual
Enter precise transform values when you need greater control over rotation, flipping and other object adjustments.
Edit Text
Adjust font size, spacing, alignment and other available settings for selected text within your design.
Text Effects
Apply available effects to selected text to create more distinctive and creative typography within your artwork.
Text Editor
Apply bold, italic, underline and text-alignment options to customise the appearance of your selected text.

Cart
Proceed
Image Quality & Print Size Guide
Use this guide as a quick reference when choosing images for your Design Studio project. Higher-resolution files give you greater flexibility when producing larger prints.
These figures provide a practical reference for image quality and viewing distance. Final print suitability can vary depending on the actual file, focus, compression, lighting and image quality.
| Phone Source | File Size | Pixel Dimensions | DPI | Max Panel Size | Viewing Distance |
|---|---|---|---|---|---|
| Old (12 MP) | 3–8 MB | 4000 × 3000 px | 300 | 610 × 406 mm | 300–500 mm |
| Modern (48 MP) | 10–25 MB | 8000 × 6000 px | 300 | 914 × 610 mm | 300–700 mm |
| Premium (50 MP) | 15–30 MB | 8192 × 6144 px | 300 | 914 × 610 mm | 300–700 mm |
| High-End (200 MP) | 30–80 MB | 16000 × 12000 px | 300 | 1524 × 1016 mm | 500–1000 mm |
Create Your Design With Confidence
Choose your product, open the Design Studio and start personalising your artwork. Upload your own images, add text, work with templates and use the editing tools covered in this guide to prepare your design before placing your order.